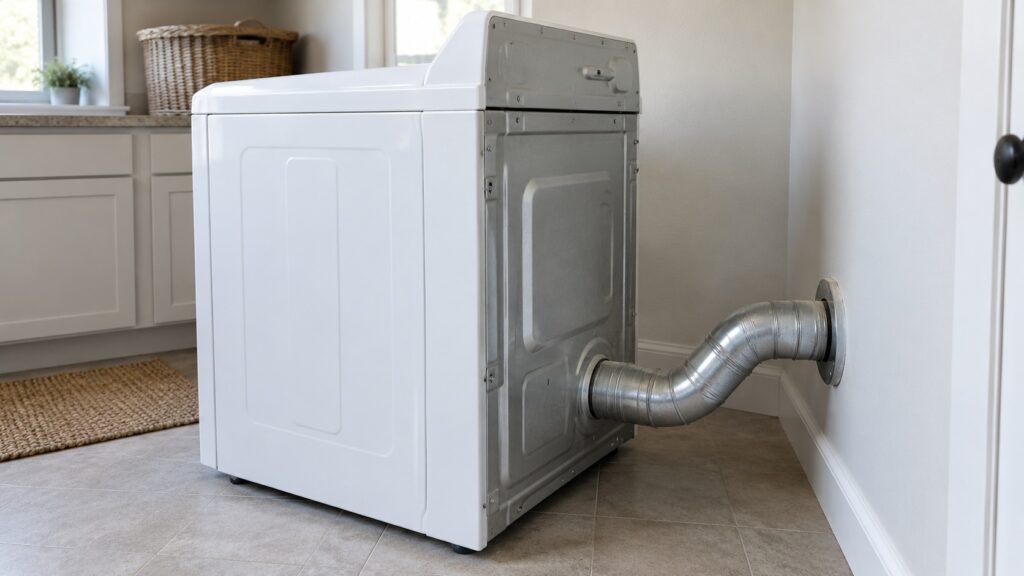
Amana dryer vent length is the single number that decides whether a new dryer dries a load in one normal cycle or in two. Every Amana dryer, electric NED or gas NGD, pushes its moist air out through a duct, and the longer, bendier or more crushed that duct is, the less air gets through. The most common first-month complaints, slow drying, a hot cabinet and the AF airflow code, are usually duct problems that began on installation day. This guide explains how to measure the run, how elbows count against you, which duct to use and how to test the result.
How long can an Amana dryer vent be?
The installation sheet that comes with the dryer gives a table of maximum duct length for each type of duct and each number of elbows, and that table is the authority for your model. As a general idea, a dryer vented with 4-inch rigid metal duct can run a fairly long distance if it is perfectly straight, and the allowed length drops sharply with each elbow, since a bend costs the airflow the equivalent of several extra feet of pipe. Flexible foil duct counts as much longer than its measured length, because the ridges slow the air.
The practical lesson is to measure the real path from the back of the dryer to the outdoor cap, count every bend, and add them up against the table before the dryer is delivered. If the run is over the limit, you need a shorter route, a different exit wall or a professional assessment, not a longer hope.
Some homes cannot meet the limit, for example a laundry closet in the middle of a house or a second-floor room with a long run to an outside wall. In those cases an in-line booster fan made for dryers, or a different exit route, may be needed. That is a job to plan with a professional, because the fan has to be sized and wired correctly, and a poorly chosen one can make the lint problem worse.
Which duct should you use?
Use rigid metal duct for the long part of the run, and a short length of semi-rigid or flexible metal transition duct only for the last connection between the dryer and the wall. Avoid white vinyl and the thin foil accordion kind, which sags, collects lint in its ridges and can be crushed behind the dryer. Join the sections with foil tape on the seams, not with screws that poke into the airflow and catch lint, and fasten the duct to the dryer collar with a clamp. Slope horizontal sections very slightly downward toward the outside so that any condensation runs out instead of pooling.
How do you count the elbows and the behind-the-dryer bend?
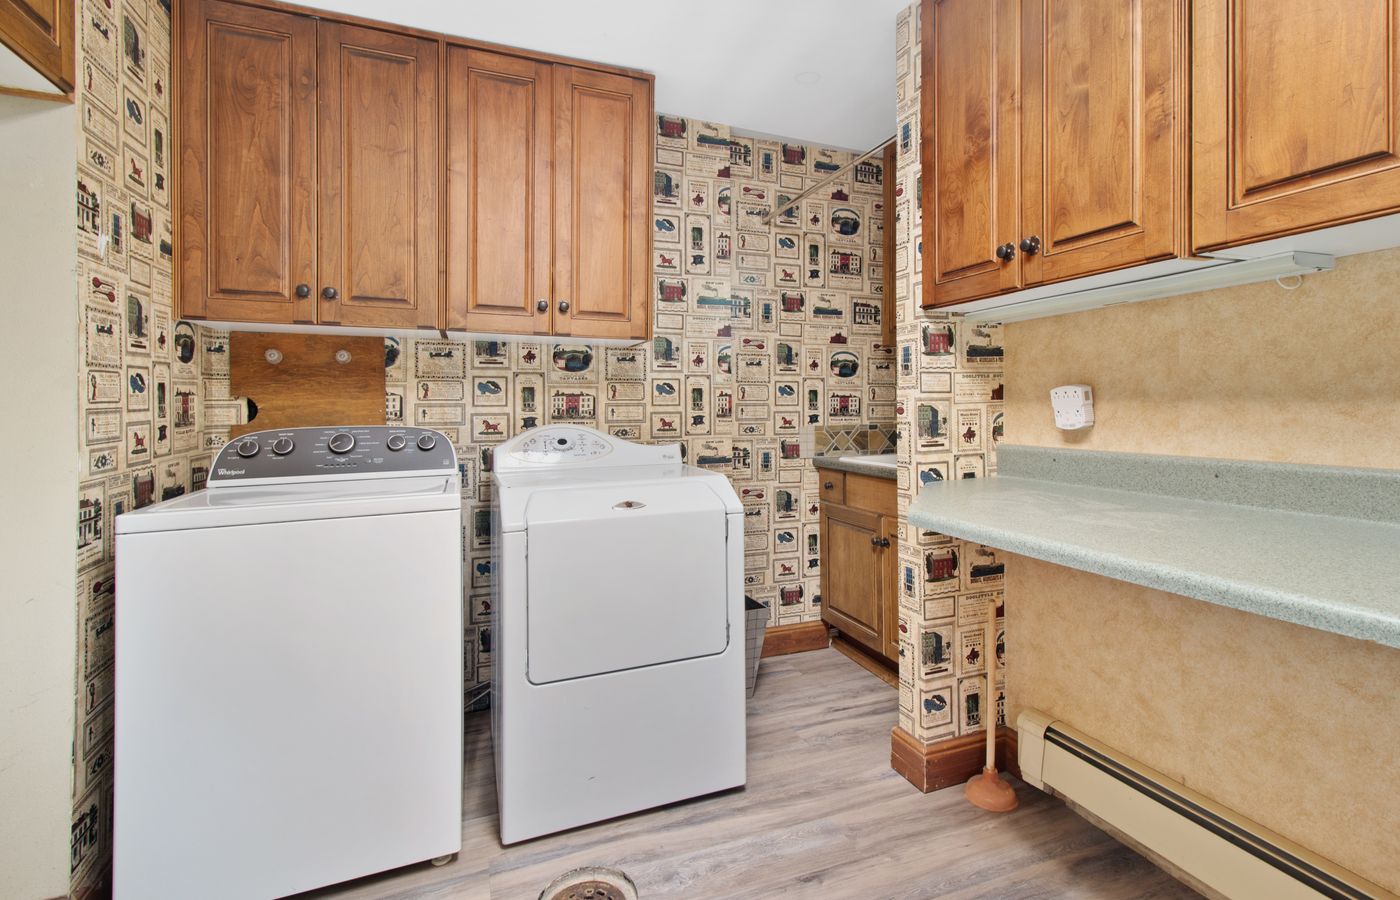
Every 90-degree elbow counts, including the one directly behind the dryer where the duct turns to the wall. That last bend is where most installers lose airflow, because a tight, kinked transition hose cuts the flow before it begins. Leave enough space behind the dryer so the transition duct curves in a gentle arc, and consider a recessed wall box or a slim elbow if the dryer must sit close to the wall. Avoid crushing the duct between the dryer and the wall at the end of the install, which is a common last-minute mistake.
Where should the vent end?
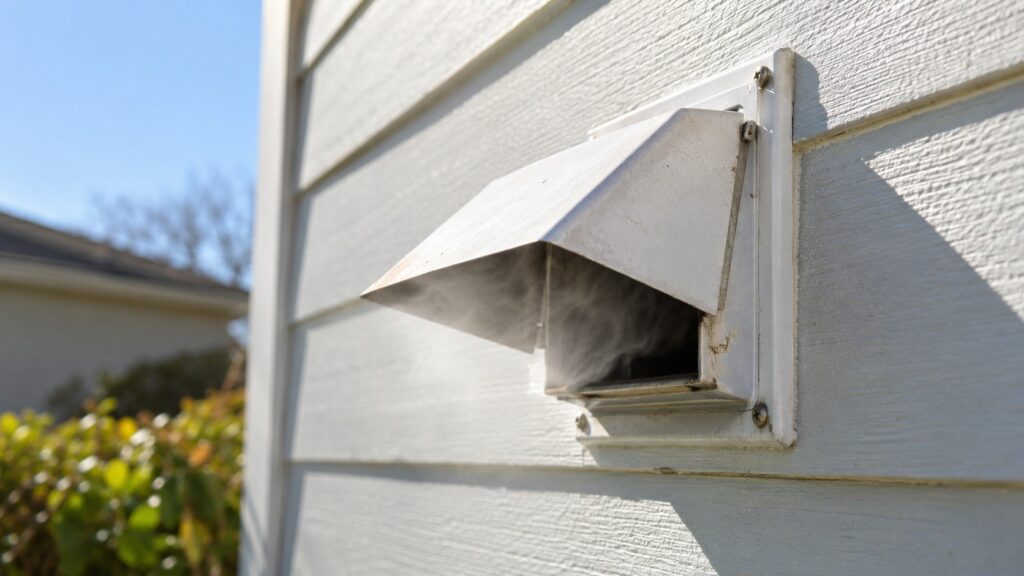
The duct must end outdoors, at a cap with a flap that opens when the dryer runs and closes when it stops. The cap should be well clear of the ground, away from windows and from other vents, and without a mesh screen, which fills with lint. Never end the duct in an attic, a crawl space, a garage or a wall cavity, and do not share one duct between two dryers. On a gas model, those gases would also end up where people live, which is why a poor vent is more serious on a gas dryer than on an electric one. If a gas dryer tumbles but stays cold after a new installation, our Amana dryer not heating guide separates a vent problem from a heating part.
How do you test the vent after installation?
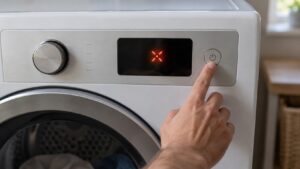
Run the dryer on an air-only or heated cycle and go to the outdoor cap. A strong, steady push of air that flaps the damper wide open is a good sign. A weak flow, a damper that barely moves, or a cap that opens only slightly points to a restriction somewhere in the run. Then dry a normal load of towels and time it. If a medium load takes much longer than the cycle suggests, or the dryer shows AF, look at the duct before blaming the dryer. Our AF restricted airflow guide goes through the checks, and the dryer takes too long guide covers the rest.
What about the rest of the installation?
The vent is half of the job. The other half is the power or gas supply, the level and the clearances, which our Amana dryer installation guide covers, and the yearly upkeep of the duct, described in the guide to cleaning an Amana dryer vent. A gas connection should always be made, and leak-tested, by someone trained to do it. We are an independent repair company, not the manufacturer, and our Amana dryer repair service can diagnose a dryer that struggles after installation. You can book a visit online.