Caring for an Amana upright freezer gasket comes down to keeping the rubber seal clean, checking that it still grips the cabinet, and replacing it when it is torn or no longer seals. Our freezer maintenance guide lists inspecting the door gasket as part of basic care and says to replace it if it is torn or no longer seals. A worn gasket lets warm air in, which makes the freezer work harder, builds frost and can leave food too soft. It is one of the cheapest things to check and one of the most useful.
Why does the gasket on an upright freezer matter?
The gasket is the soft rubber strip around the door that presses against the cabinet when the door shuts. It is what keeps room air out. Our Amana upright freezer pages describe dial or setpoint controlled units with no error display, so the freezer cannot tell you that its seal has gone bad. You have to look. A seal that does not close lets warm, humid air flow in, and that moisture turns into frost and makes the compressor run longer.
Our maintenance guide lists the same routine items for every Amana freezer: vacuum the condenser coils, inspect the lid or door gasket, defrost a manual model periodically, keep the cabinet reasonably full and leave air space around it. This page covers the gasket part.
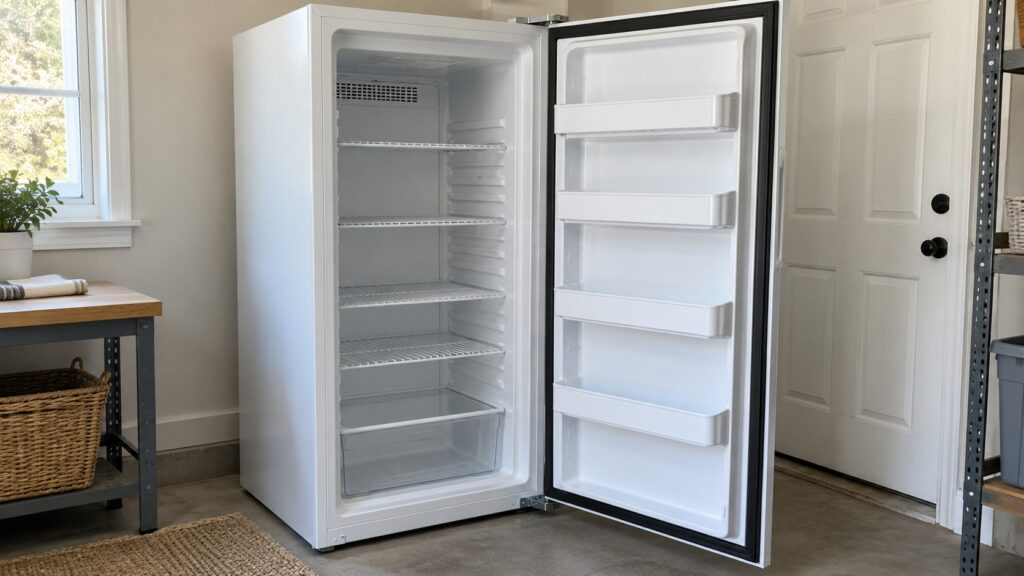
The current model on our site is the AZF33X16DW, a 16 cu. ft. upright freezer in white with the Free-O-Frost system, which is frost-free, along with a Fast Freeze option and energy-saving insulation. The older AUF200KW and AFU1505BW are discontinued uprights that we still service, and their pages say manual or frost-free defrost depends on the model. All of them use a dial or setpoint control with no error display. Whatever the model, the gasket works the same way, and the care below applies.
Our Amana freezer maintenance checklist covers the rest of the routine.
How do you inspect an upright freezer gasket?
You do not need to empty the freezer. Open the door and look, and work along the gasket from the top, down one side, across the bottom and up the other side.
- Look for tears, splits and crushed or flattened sections.
- Look for places where the gasket is pulling away from the door.
- Look for dirt, spills and sticky residue, especially along the bottom.
- Look at the cabinet face where the gasket presses, and check for frost that follows the door edge.
Frost along only the door edge is a classic sign. Our frost buildup guide lists frost that forms only at the lid edge as a worn or torn gasket.
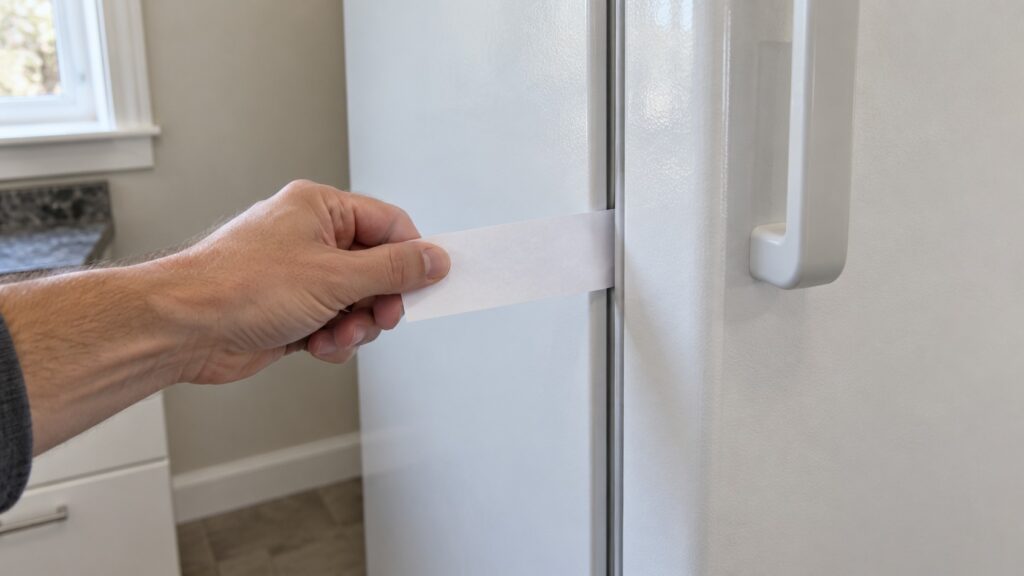
How do you test the seal with a paper strip?
Our ice maker maintenance guide suggests checking a refrigerator door seal with a strip of paper, and the same idea can be applied to a freezer door; it is a rough check, not a measurement. Close a strip of paper in the door at several points around the edge, then try to slide it out. It should resist and feel gripped. If it slides out freely at any point, the seal is weak there. Test the top, the bottom and both sides, because a gasket often fails in one section only.
A freezer that is cold but whose gasket fails this test is working harder than it should. Note where it fails, because that tells you whether cleaning might help or whether the gasket is worn.
How do you clean the gasket?
Wipe it with a cloth dampened with warm water and a little mild soap, and dry it with a clean cloth. Get into the folds, because spilled food and sticky residue collect there and can keep a door slightly open. Do not use harsh chemicals, solvents or abrasive pads, which can dry and crack the rubber. If the freezer is a manual-defrost model, do it when you defrost it. A clean gasket seals better, and cleaning is often all that a seal that does not grip needs.
Our refrigerator door alarm guide mentions warming a stiff gasket gently so it can reseal. That guide is about refrigerators and we have no freezer-specific procedure, so check your owner’s manual first, and never use a flame or a strong heat source near the gasket or the freezer.
When should you replace the gasket?
Replace it when it is torn, when it will not seal after cleaning or when it has flat spots that do not recover. The correct gasket depends on the model, so take the model number from the label with you or check your manual. If you are unsure how to fit it, or the door is misaligned, a technician can do it. Do not try to patch a torn gasket with tape or glue, because the repair will not seal.
Also check that nothing holds the door ajar from the inside. Our frost buildup guide says to confirm that food is not holding the lid or door ajar. If frost returns soon after clearing it on a frost-free upright, that points to a defrost problem and not to the seal; see Amana freezer frost buildup.
What about a door alarm?
Some owners search for an Amana freezer door alarm. Our model pages for the upright freezers describe a dial or setpoint control with no error-code display, and we do not list a door alarm for them. If your freezer has a warning light or a tone, your owner’s manual will say what it is. Our Amana refrigerators are different: they show a Door Ajar icon, as described in our refrigerator door alarm guide.
When should you call a technician?
Call if the freezer will not stay cold after the gasket is clean and sealing, if it frosts heavily again soon after you clear it, or if the door is out of line. If the freezer is not getting cold, see Amana freezer not freezing, which notes that on these freezers 1 is the warmest dial setting. If the power has been off, keep the door closed; the FDA says a full freezer holds for about 48 hours and a half-full one for about 24. Our Amana freezer repair page explains how a visit works.