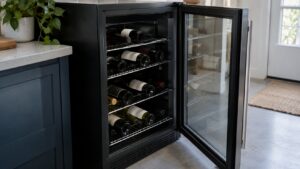
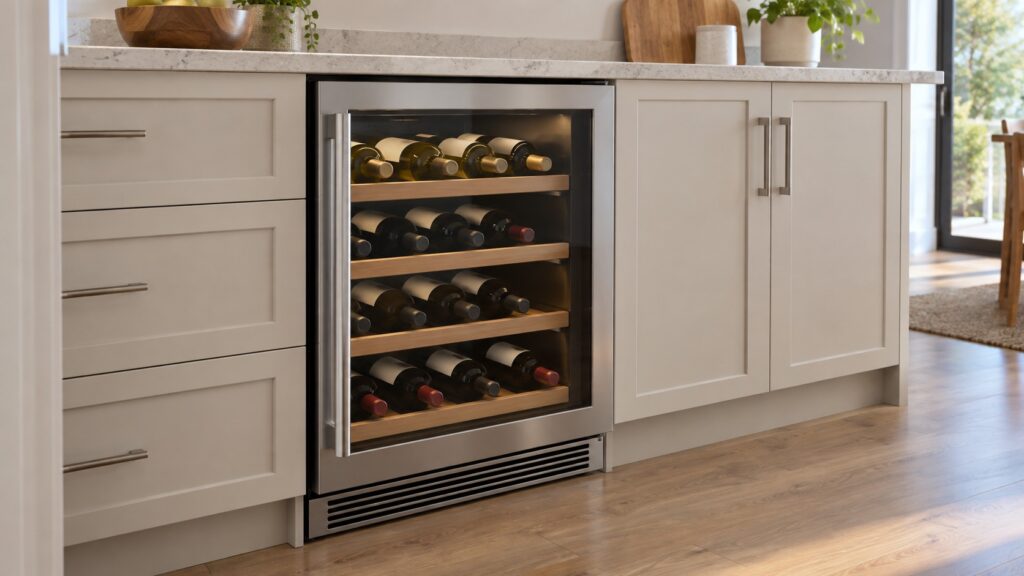
An Amana wine cooler installation means getting three things right that are easy to overlook with a smaller appliance: ventilation clearance around the compressor, a level and stable surface, and confirming whether the unit is actually rated for built-in installation or needs open air on all sides as a freestanding unit. Get the ventilation wrong and the compressor runs hot and works harder than it should for the life of the appliance.
What’s the difference between a built-in and a freestanding wine cooler?
A built-in-rated wine cooler is designed to vent heat out through its front rather than needing airflow on the sides or back, which lets it sit flush inside a fully enclosed cabinet opening. A freestanding-only model vents from the back or sides and needs open air space around it to release heat properly — installing a freestanding-only unit into a tight, enclosed cabinet space traps heat around the compressor and can cause it to run constantly or fail well before its expected lifespan. Check your specific model’s installation manual for this distinction before you finalize where it goes, since the two types are not interchangeable in placement.
How much ventilation clearance does a wine cooler actually need?
For a freestanding unit, that typically means a few inches of open space on the back and sides at minimum, specified exactly in your model’s manual, plus unobstructed floor space in front for airflow to circulate. For a built-in-rated unit, the manual will specify the cabinet opening’s minimum depth and any required rear vent panel in the cabinetry itself — skipping that rear vent panel on a built-in installation, even with a properly rated unit, can still trap heat if the cabinet space behind it is fully sealed.
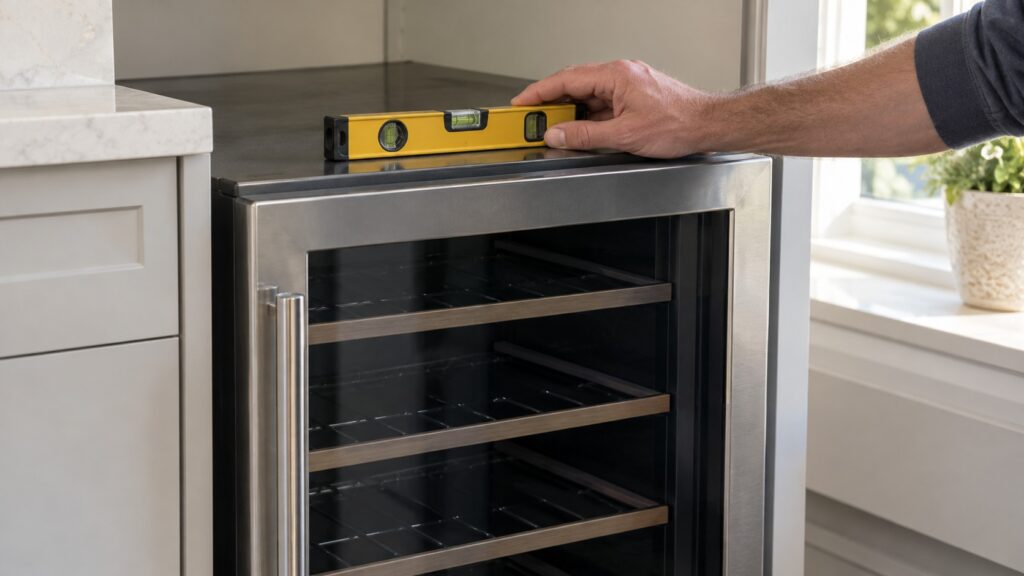
Why does leveling matter this much for a wine cooler specifically?
An unlevel wine cooler can cause the door to not seal evenly along all edges, which lets warm air seep in and forces the compressor to work harder to maintain temperature — a small leveling issue that would be barely noticeable on a large refrigerator becomes more significant on a compact wine cooler where the door seal has less overall surface area to compensate. Use the adjustable leveling feet included with the unit and check level from front to back and side to side, not just one direction.
Does placement near other appliances or heat sources actually matter?
Yes — placing a wine cooler next to an oven, a dishwasher venting warm exhaust, or in a spot that gets direct afternoon sun all add heat load the compressor has to work against continuously, not just occasionally. None of these placements will damage the unit outright, but they do make it run less efficiently and can make it harder for the compressor to hold a stable, cool temperature, which matters more for wine storage than for general refrigeration where a degree or two of variation is less consequential.
What electrical setup does a wine cooler need?
A standard grounded household outlet is sufficient for most wine cooler models, and a dedicated circuit is recommended but not always strictly required the way it is for larger appliances — check your specific model’s electrical rating to be sure, especially if you plan to install it in a location like a basement bar or a converted closet where the existing wiring may not have been intended for a continuously running appliance.
What should you check once the wine cooler is installed and running?
Give the unit at least a few hours, ideally overnight, before loading it with bottles, so the interior reaches its set temperature before you add thermal mass that needs cooling itself. Check that the compressor cycles on and off normally rather than running constantly, and confirm the door seals fully around all edges — a wine cooler that seems to run louder or warmer than expected after installation is covered in our guide on an Amana wine cooler not cooling properly.
Is professional installation worth it for a wine cooler?
A freestanding wine cooler is typically simple enough to place and level yourself without professional help, following the same general care habits covered in our Amana wine cooler tips. A built-in installation that requires cutting or modifying cabinetry, or confirming an existing cabinet opening meets a specific model’s ventilation requirements, is worth having checked by someone familiar with the clearances involved — an improperly vented built-in installation is a much more expensive mistake to fix after cabinetry is already in place than to get right the first time. If the unit is already installed and running too cold or with inconsistent temperature, our guide on an Amana wine cooler running too cold is worth checking alongside ventilation and leveling.
What’s the single most common Amana wine cooler installation mistake?
Buying a freestanding-only unit for a spot that was always going to be a fully enclosed cabinet opening is the mistake we see most often, usually because the buyer measured the opening’s width and height carefully and never checked the ventilation rating printed in the model’s specifications. It is worth confirming this detail before purchase, not after delivery, since returning or re-homing an installed appliance is considerably more work than checking one line in a spec sheet ahead of time. If you are furnishing a new bar area or kitchen island specifically around a wine cooler, decide on the exact model first and build the cabinetry opening to its stated requirements, rather than building the opening first and shopping for whatever wine cooler happens to fit it.
We are an independent repair company, not a factory service arm, and we will tell you when a repair is not worth doing. Pricing starts from a diagnostic visit and we confirm the estimate before any work begins. If your wine cooler isn’t holding temperature after installation, our Amana wine cooler repair service can take a look — you can schedule a visit online.